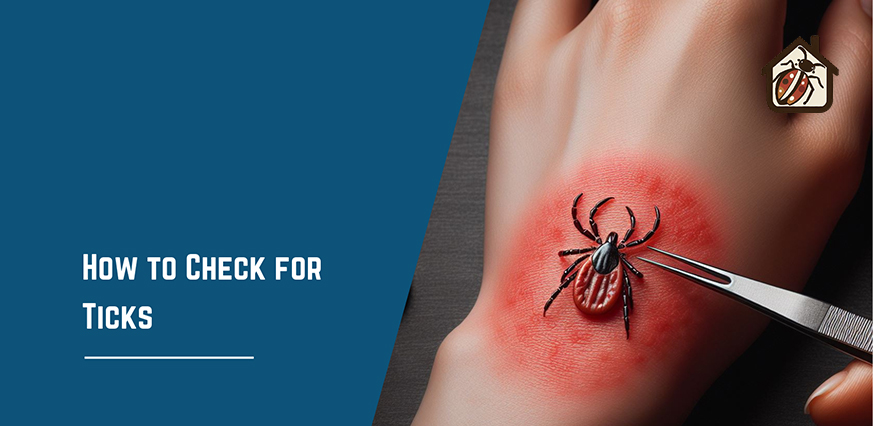
How to Check for Ticks
Worried about blood-sucking ticks on your body, discover effective ways to safeguard against them. Learn how to check for ticks with the right tools and preparation. And be a confident inspector and uncover those crafty critters.
What are the Essential Preparations for Tick Removal
- Illuminate and Investigate
No detective worth their magnifying glass works in the dark. Bathe yourself and your pet in bright light, be it natural sunshine or a trusty lamp. This illumination acts as your first line of defense, revealing shady crevices where ticks love to hide, particularly behind ears, in groins, and under armpits. Don’t forget areas like the scalp, behind the knees, and the waistband for the truly meticulous sleuth.
- Gentle Extraction Tools
Equipped with the right tools, removing unwelcome tick guests becomes a breeze. A pair of fine-tipped tweezers is your weapon of choice, allowing for a firm yet gentle grip that minimizes the risk of squeezing the tick and potentially transmitting pathogens. Remember, no harsh yanking or pinching – treat your tiny nemesis with the finesse of a master surgeon.
- Enhanced Visibility
For those suspicious bumps that require closer examination, a magnifying glass becomes your trusty magnifying ray. Zoom in on the scene, scrutinizing size, shape, and color. A tick’s telltale dark brown, leathery body with eight legs (adults) or six legs (nymphs) will reveal their true identity, sending shivers down your detective spine, not from fear, but from the thrill of the discovery!
- Fur-Focused Comb (for dogs)
Our canine companions deserve no less than meticulous investigation. Employ a fine-toothed comb to gently part their fur, exposing hidden tick nasties that may have burrowed deep. Remember, thoroughness is key, especially in areas like the neck, chest, and belly. Don’t forget to check between toes and inside ears – no nook or cranny should escape your watchful eye.
How to check for ticks on humans?
Get ready to outsmart those sneaky bloodsuckers with a lightning-fast, head-to-toe scan! Say goodbye to shivers and grab your detective hat – it’s time for a tick-check!
Head-to-Toe Scan
- Hairline & Ears: Don’t let those hairs hide sneaky stowaways. Comb thoroughly through your hairline and behind your ears. Ticks can be crafty, but with a careful sweep, you’ll catch them red-handed.
- Neck & Armpits: Give those warm, cozy spots a good once-over, especially in the armpit jungle. Ticks love to seek refuge in these areas, so be thorough in your inspection.
- Behind Knees & Elbows: Check behind the joints – knees and elbows are prime hiding spots for ticks. Shine a light into the shadows, and you might just uncover their hiding places.
- Groin & Waistline: Groin, waistband, and belly button – no nook or cranny should escape your eagle eye. Ticks are adept at finding tucked-away spots, so be sure to thoroughly inspect these sensitive areas.
- Between Toes: Give every space between those digits a quick once-over. Ticks are persistent, but with a careful check, you’ll ensure they haven’t made a cozy home between your toes.
How to check for Ticks on Dogs?
Head Patrol
Your first line of defense begins with a thorough Head Patrol. Ticks love the warm, moist havens of your pup’s ears, so check inside and behind, leaving no nook or cranny unexamined. Move on to the muzzle and chin, protecting your pup’s cutest features from any tick invaders.
Body Blitz: Targeting Key Areas for Examination
In the Body Blitz, pay extra attention to the collar area – a prime tick hangout. Slide your fingers under the collar, feeling for any suspicious bumps. Move to the under front legs and between toes, ensuring no tiny terrors escape the Paw Patrol. Don’t forget to check around the tail base, making sure no unwanted guests are crashing the tail party.
Belly Check for ticks
During the Belly Check, scan the underside from the chest to the tush for any rogue ticks hitching a ride. Remember, no belly rub is complete without a tick check – keep your pup’s belly squirm-free!
Hidden Hiders
Delve into the Hidden Hiders section with a focus on the eyes and mouth. These sensitive areas require a gentle touch. Use your fingers to carefully examine around the eyes and mouth, ensuring no sneaky ticks are lurking. Inside the ears, where ticks might create their fortresses, needs special attention – let vigilance be your shield!
How to remove a tick?
Tiny though they may be, ticks have the potential to pack a punch of unpleasantness and health risks. So, when you discover one latched onto your skin, panic is understandable. But fear not, brave adventurer! Armed with the right tools and tactics, you can become a tick-removal champion, banishing these unwelcome guests without breaking a sweat (or the tick).
No Crushing or Pinching: Avoid Releasing Toxins
Before embarking on this heroic feat, remember the cardinal rule: NO CRUSHING OR PINCHING! Doing so can release potentially harmful toxins from the tick into your bloodstream – an outcome we definitely want to avoid.
Tweezers or Tick Twister: Secure Tick Removal
Our weapon of choice for this mission? Tweezers or a tick twister. These trusty companions offer a firm, secure grip to remove the tick without harming it (or getting squeamish). Avoid makeshift tools like knives or matches – they’re more likely to cause injury or squeeze the tick, sending unwanted toxins your way.
Pull Straight Up: Slow and Steady Wins the Race
With your trusty tool at hand, grab the tick as close to its head as possible, where it’s attached to your skin. Remember, we’re going for slow and steady here. No yanking or jerking – these sudden movements can leave the tick’s mouthparts embedded in your skin, leading to potential infection. Instead, apply gentle, steady pressure, pulling straight upwards until the tick releases its grip and bids you farewell.
Clean the Bite: Post-Removal Hygiene for Optimal Recovery
Once the tick is vanquished, celebrate your success! But don’t forget the final step: cleaning the bite site. Use a disinfectant like rubbing alcohol or soap and water to prevent any potential infection. Keep an eye on the area for the next few days, and consult a doctor if you notice any redness, swelling, or other concerning symptoms.
You may also like:
FAQs:
Where do I check for ticks on myself and my dog?
What tools do I need to remove a tick?
How often should I check for ticks?
Do I need to magnify anything?
Should I use tick repellents?
What do I do if I find a tick?
Conclusion:
In conclusion, by staying prepared, using the right tools, and conducting regular checks, you can confidently detect and remove ticks from both yourself and your dog. It is important to check for ticks to be safe from diseases spread by ticks. Follow proper removal techniques, avoid crushing, and maintain post-removal hygiene to ensure a tick-free outdoor experience. Stay vigilant, use tick repellents, and embrace the role of a savvy tick detective for a healthier journey.